Slow Crazy Stitching!

I have now retired. Hooray!!!!!

My days are spent poodling around the house, doing jobs I never had time for and endless cuppas without having to clock watch. It’s bliss, as now I can spend all my days sewing!!

I still don’t want to spend money on my crafting, if I can help it, so with all the time that I have I am now doing my style of slow stitching with crazy seams!! My idea of ‘slow stitching’ is stitching in my own time.

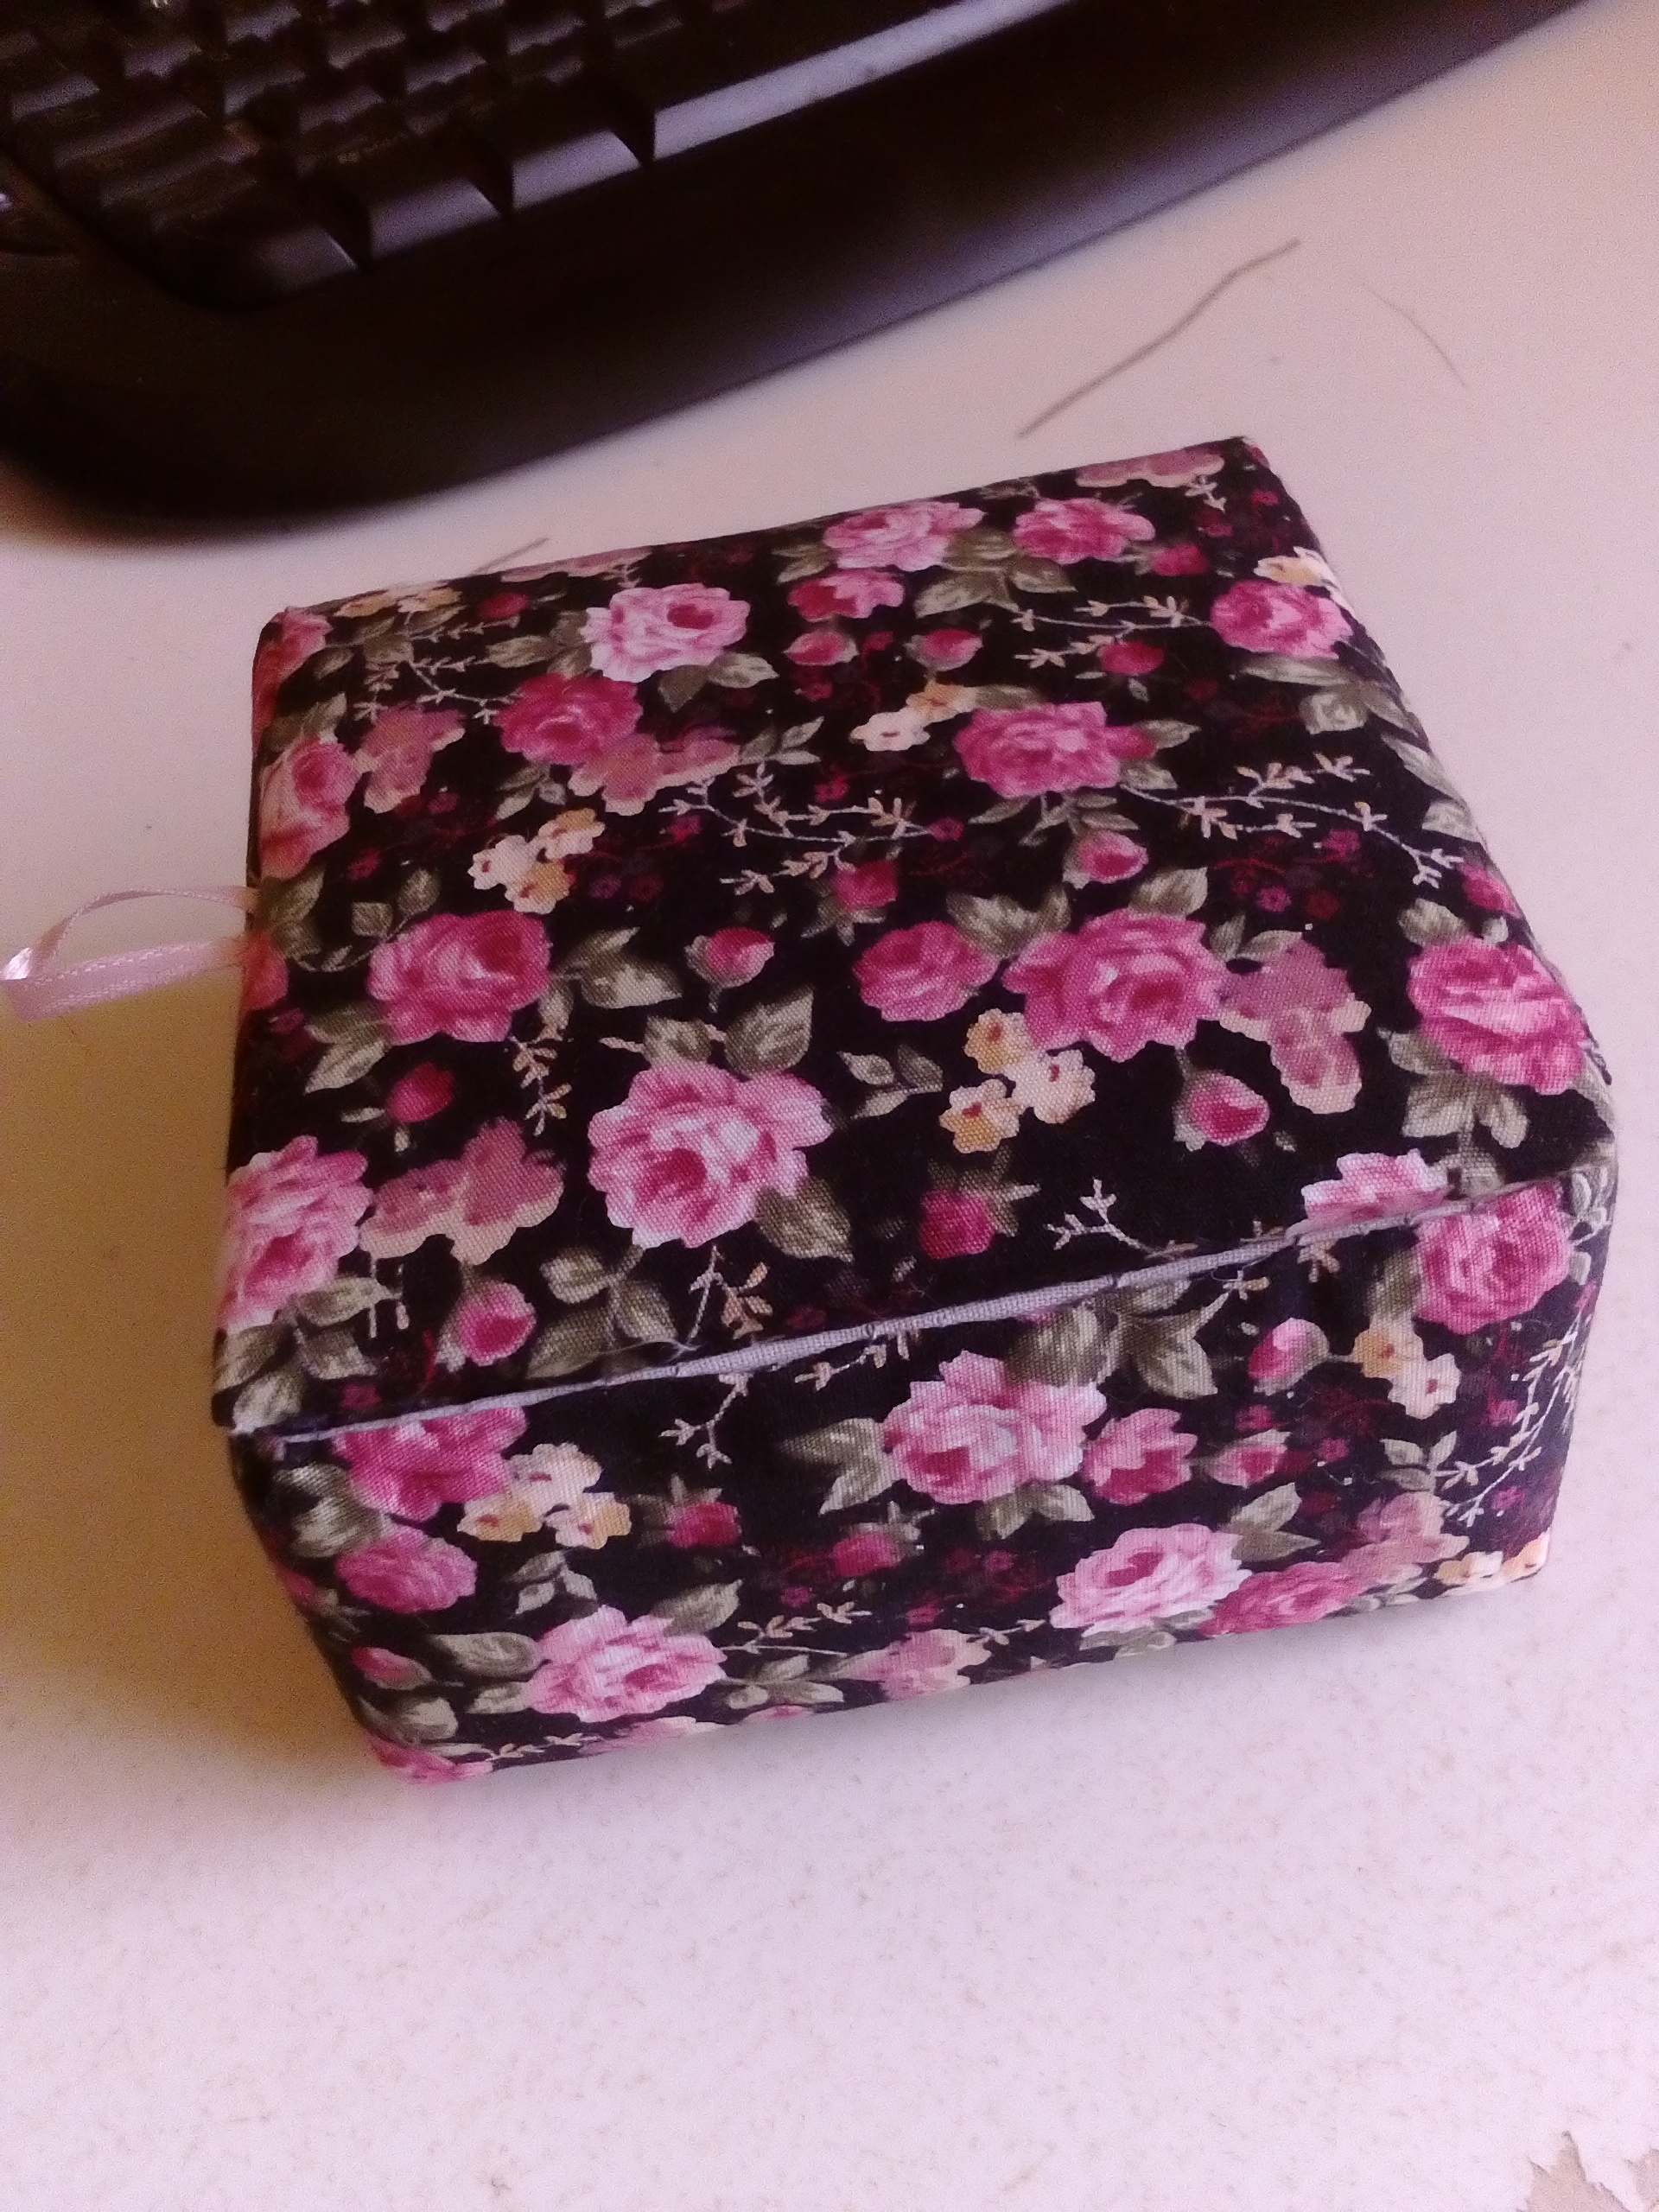
My first go was with these little cats I made out of square 1 ½” scraps of not so nice fabric I had laying around. I used one crazy seam stitch around all of the squares then treated each little square separately, with different stitches, beads, lace, buttons etc. When I couldn’t get any more on each square I stitched and stuffed these little shelf sitters, added a bow and a little bell, and voila!!!

These turned out to be 6″ high

With the fabric I had they did turn out a bit garish, not really the look I like, but they kept me busy and used up some of my thread stash.

I began to think that squares looked a bit boring and decided to do a bit of ‘crazy quilting’. This definitely worked out a lot nicer.

Lots more detail

I found a brilliant seller on Ebay that sold batches of 4” squares of mixed fabric in the sort of Victoriana colours that I love. So gave in and spent £3.50,

And these are what I made with it.

3″ doorhanger
4.1/2″ door hanger

I begin with raw edge crazy patchwork, each edge is treated with a crazy quilt seam embroidery, or lace, then each patch is embroidered with small flowers etc.

Lots of stitching!

After that comes the fun bit, cover everything you can with tiny beads.They both took a couple of weeks to do. It’s just hard to get to the point where you say ‘that’s it, no more’! I could have added a lot more beads, but I realised they looked pretty enough as is……

I love how this turned out

This framed one turned out to be my favourite. It looks so beautiful in the sunlight, everything sparkles, and the second-hand frame worked really well. It measures 4 1/2″ x 6 1/2″. This one took me a couple of months to do, but the beauty of these projects are that they are slow, meditative and unique. They are not boring and repetitive, there is no set pattern, and you can try new stitches, as in a sampler, plus they take tiny pieces of fabric.

So much better than my first attempts with the squares!

I already have my next pack of fabric squares waiting, so I know what I will be doing with my time at home, and in the lovely spring weather will be sitting in my garden doing it!!!

Embroidered cat portrait 2

I have just finished another cat portrait. This little old lady sadly passed away a few months ago. Her owner thinks that she was nearly 20 years old! She was a beautiful little character, I hope this comes across in my embroidery. Here are some of the steps in my creation. I am still learning how to do needle painting (or thread painting) I can do the stitching ok, it is just at the beginning when I need to choose what colours I am going to use, that’s the hardest part. I am useless at colour, and with the photo being on the computer the colours change with the light around you. I ended up using all of these colours to blend.

Not being a good artist either I used Microsoft Paint to trace the pattern from the photo, saved it to Word and made it the size that I wanted. Using a Frixion pen and a light box I traced the pattern onto my fabric. I used a 6″ hoop and 1 strand of DMC. The actual face measures approx 4″.

Then it was a lot of tooing and frowing from photo to stitching. Making sure I had the direction of the fur going the right way.

The first eye brow on the right didn’t go too well as I hadn’t quite got the knack of the shading, But the left side of the face I am quite happy with, the blending came a bit easier and looks more natural.

So this is the finished portrait. It took quite alot of hours and many, many stitches. But it came out alot better than I thought it would at the beginning. And she looks just as I remember her the last time I took care of her in my cattery.

She was a sweet little old lady.

Finished little pet portrait commission

This little portrait is now complete, I could have left it in the hoop and just backed it, but I don’t feel as though that is a finished project. So I laced the portrait onto some card with wadding to pad it out a bit. I then laced the backing onto a wooden disc, to give it some weight. I  joined the two together and covered the join with thin black ribbon and beads. With the little ribbon hanger it can be hung anywhere. Quite pleased with how it turned out.

These little hangings measure 3 inches across. At the moment I have 3 more orders, so a great excuse to buy more floss!

Nearly finished little pet portrait commission.

Just got to add her name, take it out of the hoop and make into a little hanging for one of my cattery customers. My embroidered pet portraits come in at just about 2 inches and are mounted in a 2.75 inch round, padded hanging which I will take pictures of when finished.

This is how small it is compared to a UK 2 pence coin. It is embroidered with one strand of DMC embroidery thread on calico cotton fabric. Tomorrow I will embroider her name and finish the framing. I hope you and my customer like it.

Floss, organised!

I have just spent a lovely, relaxing, rainy afternoon filling my new floss box. I had loads of different coloured flosses, most of them in knots and tangles, mixed up in an old shopping bag. I saw these floss boxes on the internet and decided they were for me. I am so happy with the results.

BEFORE, how embarrasing!!!

After un-knotting, ALOT, I wound them onto the little card bobbins that also came with the box, by hand, I didn’t bother buying a little bobbin winder.

AFTER, how beautiful.

This is my ‘CAT’ box. These are all the colours that I will use to embroider my cats. Now to sort all the rest out before I buy more boxes.

I managed to get my ‘CAT’ thread box done while my two little horrors were asleep!

Why didn’t you wake me up?!!!!

Dillon wasn’t too impressed when he eventually woke up. He would have loved to have helped!!!

This is what I had left, all the little pieces that took me ALOT of will-power to throw out. I hate throwing anything crafty out, hence having to organise regularly!!!

All the little bits that I must throw. Chaos isn’t good.

This is how my stash finished up, I am now ordering 2 more boxes so they will look neat and tidy too. And hopefully no more reasons to throw anything away!!

Looking forward to getting my new boxes and sort this lot out properly.

I can’t wait to start embroidering again, my hands are alot better now. And having my floss organised there will be no more pulling out bits from an old shopping bag. Tomorrow I will be making something to help me transfer my cat designs onto my fabric. So keep watching!!


Finished little thread painting!

Here is the end result of my first try of thread painting. My little boy Dillon came out not too bad. I thoroughly enjoyed doing it and will try and tackle another one when I get round to deciding which cat to do next and then try and get all the coloured threads together. That was the hardest thing. I only had a few colours in my stash so did buy a few more. With thread painting from a photo, especially animals, you can see so many colours in their fur that you could end up having to get loads! I also found that the photo I had became a different colour when on the computer so most of it was guess work. I didn’t include whiskers, I just couldn’t get them to look right. So will have to practice a bit more!

Ready to hang

One of my friends sadly lost her cat recently. So using black DMC I thread painted a little keepsake for her. I designed and made one for myself first, for one of my cats, Lily, that passed away a few years ago.

By using the thread painting technique, in black, I was able to get the contours of the back of the cat, and the coverage of the white cotton background was good. This little cat is just over 2″ tall and 1″ wide.  It almost looks like an appliqued cat made with thousands of tiny little stitches, which looks just like fur. After embroidering some little flowers on the cats back I laced the picture over some wadding and card from a cat food box, did the same for the back, embroidering a little message, beaded some satin ribbon and stitched it around the edge and finished it with a ribbon hanger.The finished keepsake measures approx 3″ x 4″ without the hanger.

Sad, but a nice little reminder of a furry loved one. I have since had a few other people asking me for one for their cats, and a dog. So I will be doing them over the next few weeks. Lily was a shorthaired moggy (and a little devil!), but I have a couple of orders for special breeds so I am looking forward to doing them and seeing how they turn out. And by just using black DMC I don’t have to worry about matching colours to photo’s.


Nearly finished Dillon!

Well my attempt at thread painting my cat Dillon is going quite well. Not as accurate as I would like, but at least it looks like a cats face. I am really enjoying it and have loads of photo’s of different cats that stay in my cattery to practice on. I have just got to finish his nose, put a few whiskas on, get rid of the pen lines and he is done!

This little portrait is in a 4″ hoop and measures about 2.75″ x 2.75″.

Sewing again-with Thread Painting

I  am now able, with the help from Manuka Honey Cream, able to sew again. My Contact Dermititis is almost gone. Not with any help from my GP. The only things he would offer me were Hormone Creams, which were just burning my hands. It has been so miserable not being able to touch anything without leaving streaks of grease or my hand splitting and bleeding. Now, hopefully that is all behind me!!!!

So as I wasn’t able to do any crafting I spent alot of time on the net drooling over what everyone else was doing.

Thread Painting caught my eye, it did seem labour intensive, until I realised alot of the artists use 4″ hoops, not very big, but the details that were achieved were amazing. My all time favourite on YouTube was from Stitching Sabbatical. She is brilliant, and stitches my all time passion, CATS! I decided to have a go using a photo of one of my cats…………….

I have been reading up on all I could find on this subject, ordered needles, hoop and a couple of books and the day before yesterday I was ready to start my first project.

I had some old polyester cotton sheeting, which I am using, it works fine with all of the little stitches. The only problem I have found is trying to thread the needles! They are a size 10 quilting needle, very tiny. Even though I am only using one thread of stranded embroidery cotton, it takes alot of concentration.

This is my first attempt so far, of my beautiful tabby Dillon.  I am hoping that his little character will show through when I have finished.


More Needlepunch and cat food boxes!

I have been having fun with more cat food boxes and my needlepunch. Trying to decide how to display the finished needlepunch has left me at a bit of a quandry, the little boxes I have been making take quite a while and I wanted to get on with more punching. And as the cattery is quiet at the moment I am slowly running out of card!!!

My latest needlepunch quilt block cat, (a maine coone silhouette) I backed with card and discovered the ‘no sew cubes’ on the net. There was a lady on Youtube showing how to make a triangle out of card like the cubes. So for this little project I hand sewed the triangle. It took up quite alot of cardboard but stands up on its own quite well.

I love the way the little quilt blocks turn out, they measure 5″ x 5″. But then I thought, what would the little cat silhouettes look like on a patterend fabric background. This would save me having to use so many different coloured embroidery floss. So I tried my needlepuch on some cheap ditsy poly cotton fabric in my stash. And it worked perfectly.

The first one I backed with wadding and laced onto card and made a no sew cube by wrapping a box I had with hessian. I weighted the inside of the box with a little wad of shingle (stones from the drive) and screwed up newspaper. Then just glued the cat to the front of the box.

I think the silhouettes punched onto pretty patterened fabric look lovely. This one, again, I backed with wadding and laced onto a piece of card. I then found a blouse I never wore and cut that up and appliqued the finished cat onto that. using another piece of card I have temporarily stuck everything down until I can decide what to do with it! I will probably just back it, make some cord with matching embroidery floss for a hanger and decoration. It’s amazing what you can do with cat food boxes!

Little Boxes

Had a few days, without any little customers in the cattery, so have been making some fabric covered boxes. I have saved lots of the cat food boxes, that the pouches come in. The cardboard is fairly stiff and when you double it up it becomes quite strong.

I haven’t used any glue, this box is all hand sewn and padded with 20z wadding. I adapted the pattern taken from a lovely book that I have had for a while. It is called ‘Making Hand Sewn Boxes’ Techniques and Projects by Jackie Woolsey. I am a bit peeved about this…….. I didn’t realise, until I bought her book, that many years ago I lived, literally,  just up the road from this lady. The boxes in this book are beautiful, and the instructions are very clear and easy to follow.

I followed all of her techniques from lacing individual parts to adding a fabric hinge. I was restricted with the size of the cat food box, but if it had of been any larger it wouldn’t have been as strong. It is an ideal size for holding my embroidery floss ready for punchneedling, and has a padded lid as a little pin cushion. It measures 4″ x 4″ and is 1.5″ deep.


Dillon wasn’t too impressed, there wasn’t enough room on my lap, what with bits of cardboard, fabric and cottons. He spent ages trying to make me feel guilty……………… love him!