It wasn’t until I received a message from a reader to say that I had shown the start of my storage boxes but hadn’t shown how they look now that they are finished. I must apologise, this project was in my blog in April!! So here is the update as to how they look (I did finish them in June, honestly!)


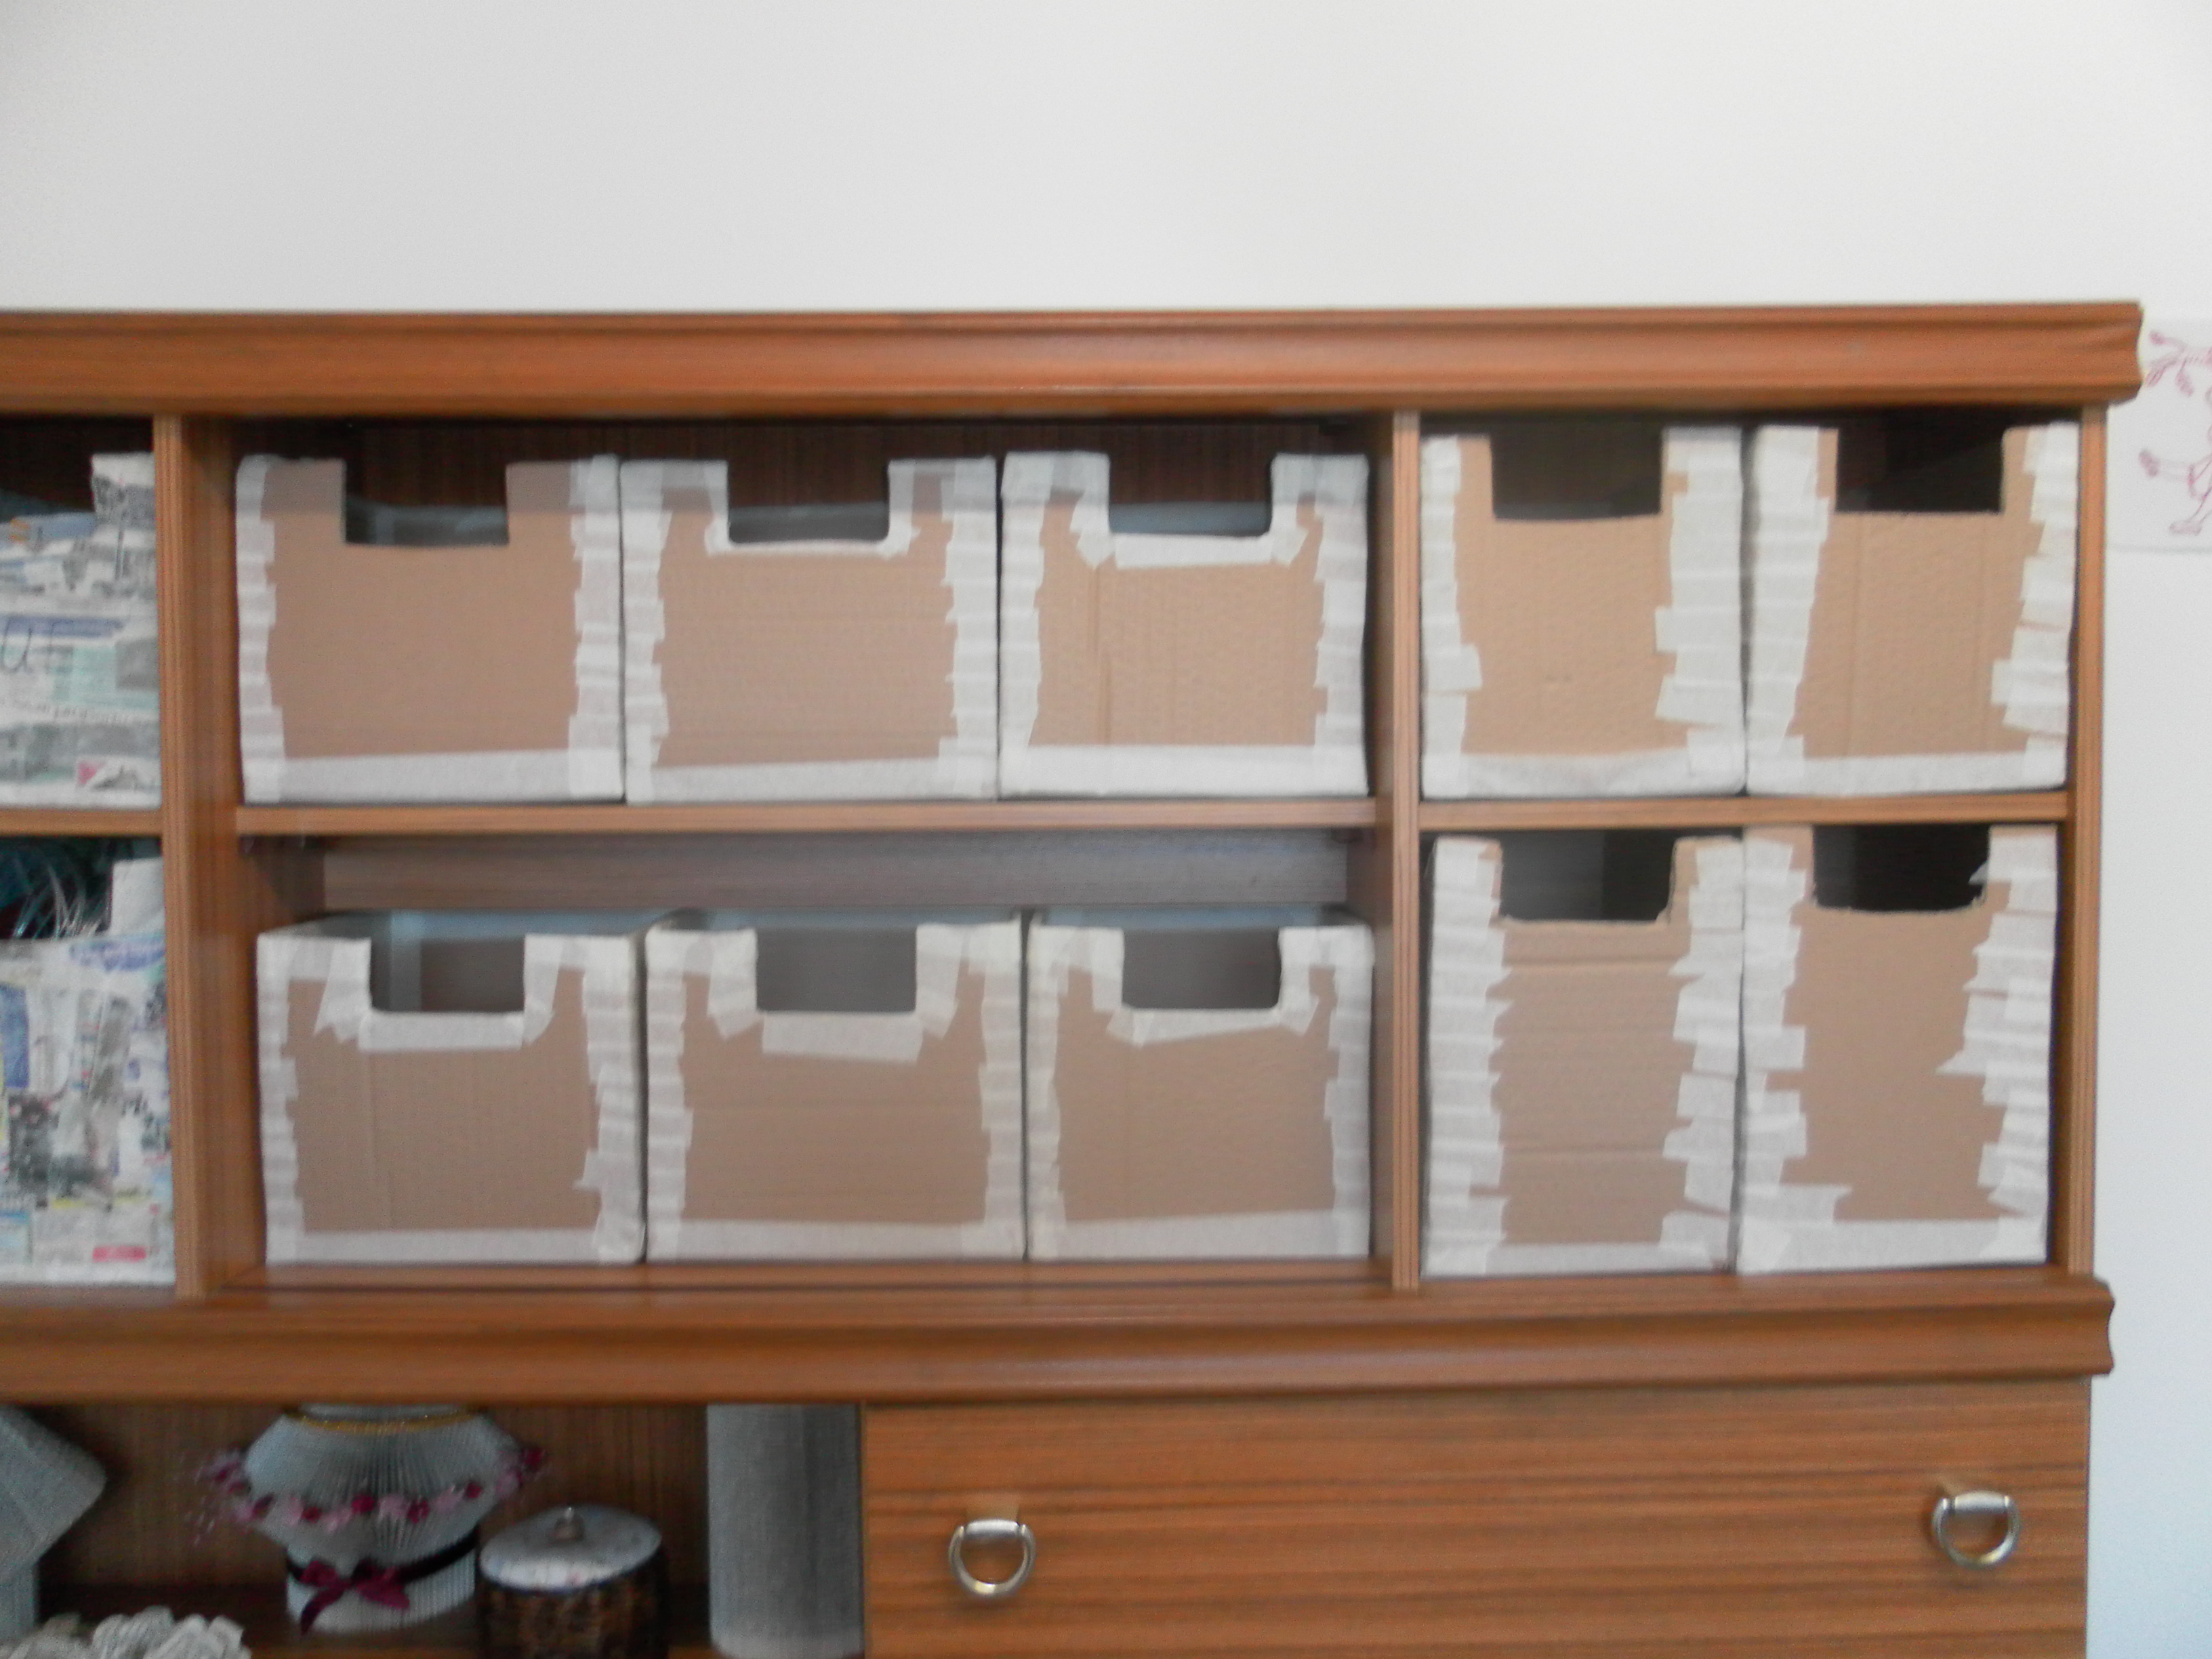
This is how they looked in the beginning. just recycled cardboard and masking tape.
For my paper mache I used small pieces of brown Kraft paper and a 1:1 water diluted PVA glue. The boxes were covered, inside and out, with about 3 layers of the paper mache (leaving to completely dry between each layer). They were then painted, inside and out, with a household matt white paint. I needed to do two coats of this to make sure the Kraft paper was covered and the finished boxes looked white. Then came the final coat of household satin paint. I love satin paint, it isn’t as shiny as the gloss and is alot easier to paint with.

They didn’t finish as hard as I thought they would by using the PVA glue, I should probably have done it the old fashioned way and used a flour/water paste mix for the mache. But they still serve their purpose and I have gained alot more storage room on the shelves, and it looks alot neater than before.
I carried on with the recycling ethos and made labels for each box. To do this I printed a label with a design, stuck it onto a piece of recycled cardboard and covered it with transparent plastic. To attach the labels to the boxes I used gold coloured split paper pins.

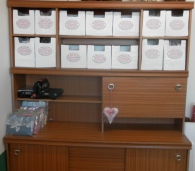
And this is how they ended up.
 I had been looking at the price and sizes of storage boxes, none of them would have fitted my shelves or looked as neat, or been practically free!!