With the left overs from my last Rescued Book Birdhouse I made some tube beads, joined them together with some wooden recycled beads and a small charm to make a bracelet and earring set. And with my home made Paper Bead Roller Tool they were very quick to make.
For the beads:
Book pages
Glue (I used Pva) but you can use a glue stick.
Cocktail sticks for drying the beads on.
Wood varnish or clear nail varnish
A small piece of polystyrene or a cardboard box to dry the beads on.
A bead roller, if you have one, if not you can use the cocktail sticks, skewer or a thin knitting needle.

Think of how many beads you could make from one book!
These are the little leftovers I had from the last book page tutorial, they measure 3 1/2″ long and 2 1/4″ wide.
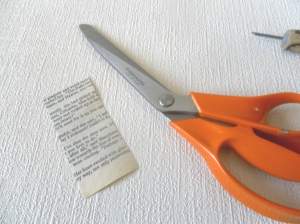 To make the beads cut off the border on one side of the page this way the words will be the width of your bead with no blank areas showing. Cut this little page in half lengthwise. As shown in the picture below.
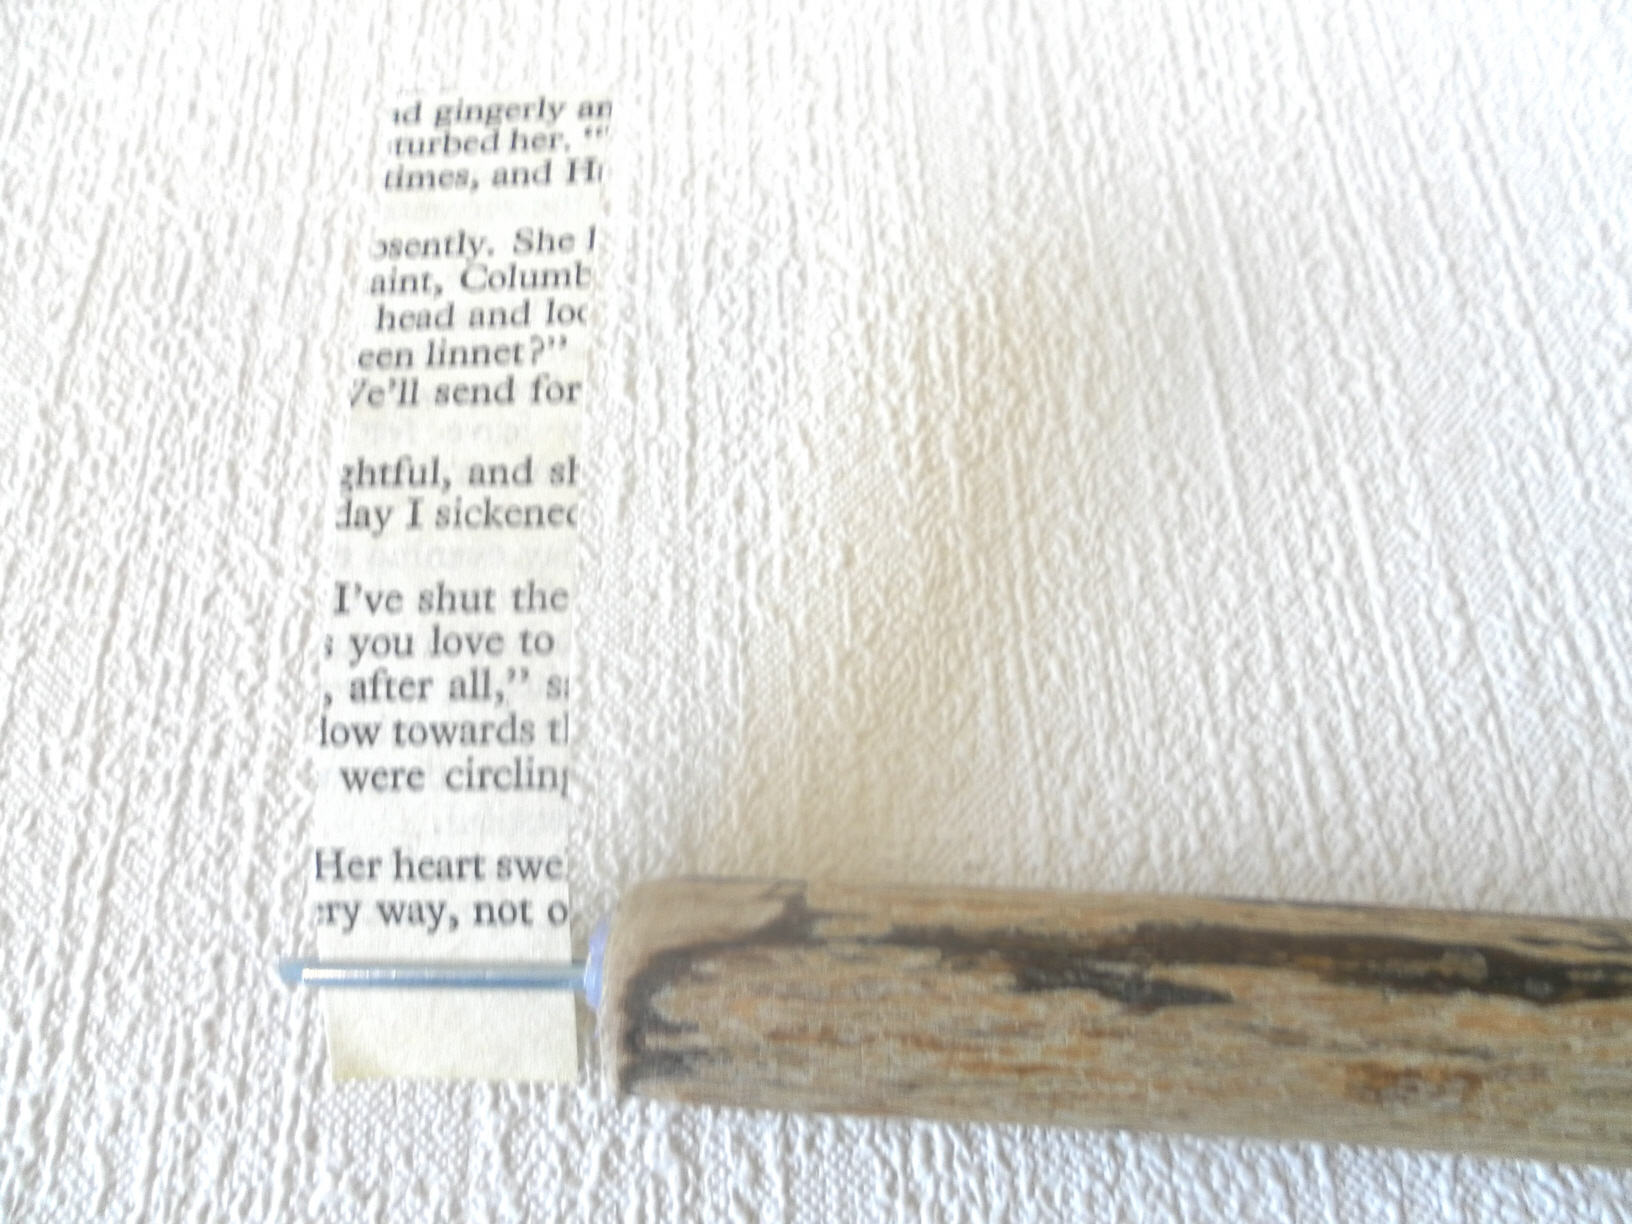
 With a toothpick, skewer, thin knitting needle, bead roller or something like my tool. (which I will show you at the end of the tutorial) start to roll your bead tightly from the bottom of the page, where the blank area is.
 When you come to about 1/2″ from the end of the paper place some glue to glue it down either using a glue stick or a thin layer of pva glue.
 Remove your bead from whatever tool you have used to roll it on and make some more! Remember to check the little page before rolling to make sure that the outside of the bead will be covered with words, and no blank spaces.
 To coat my beads I put them onto cocktail sticks and using a small paint brush I gave them a coat of a cheap quick dry wood varnish, if you don’t have any of this you can use ordinary clear nail varnish.
I then pushed the cocktail sticks into the polystyrene (this came in the box with my new computer!) and left them to dry.
Give the beads a little while to become touch dry and then slide them up and down so that the beads don’t stick to the cocktail stick.
When they are thoroughly dry give them another coat of varnish and repeat, moving them up and down the cocktail stick when touch dry.

Do the sam,e if using a cardboard box, just push the cocktail sticks in so that the beads aren’t touching each other and leave to dry.
When they are completely dry they are ready for making into jewellery.
These little beads are not completely water proof, after all they are made from paper. But if you don’t wash up or have a bath or shower whilst wearing the paper bead jewellery they should last you quite a long time!
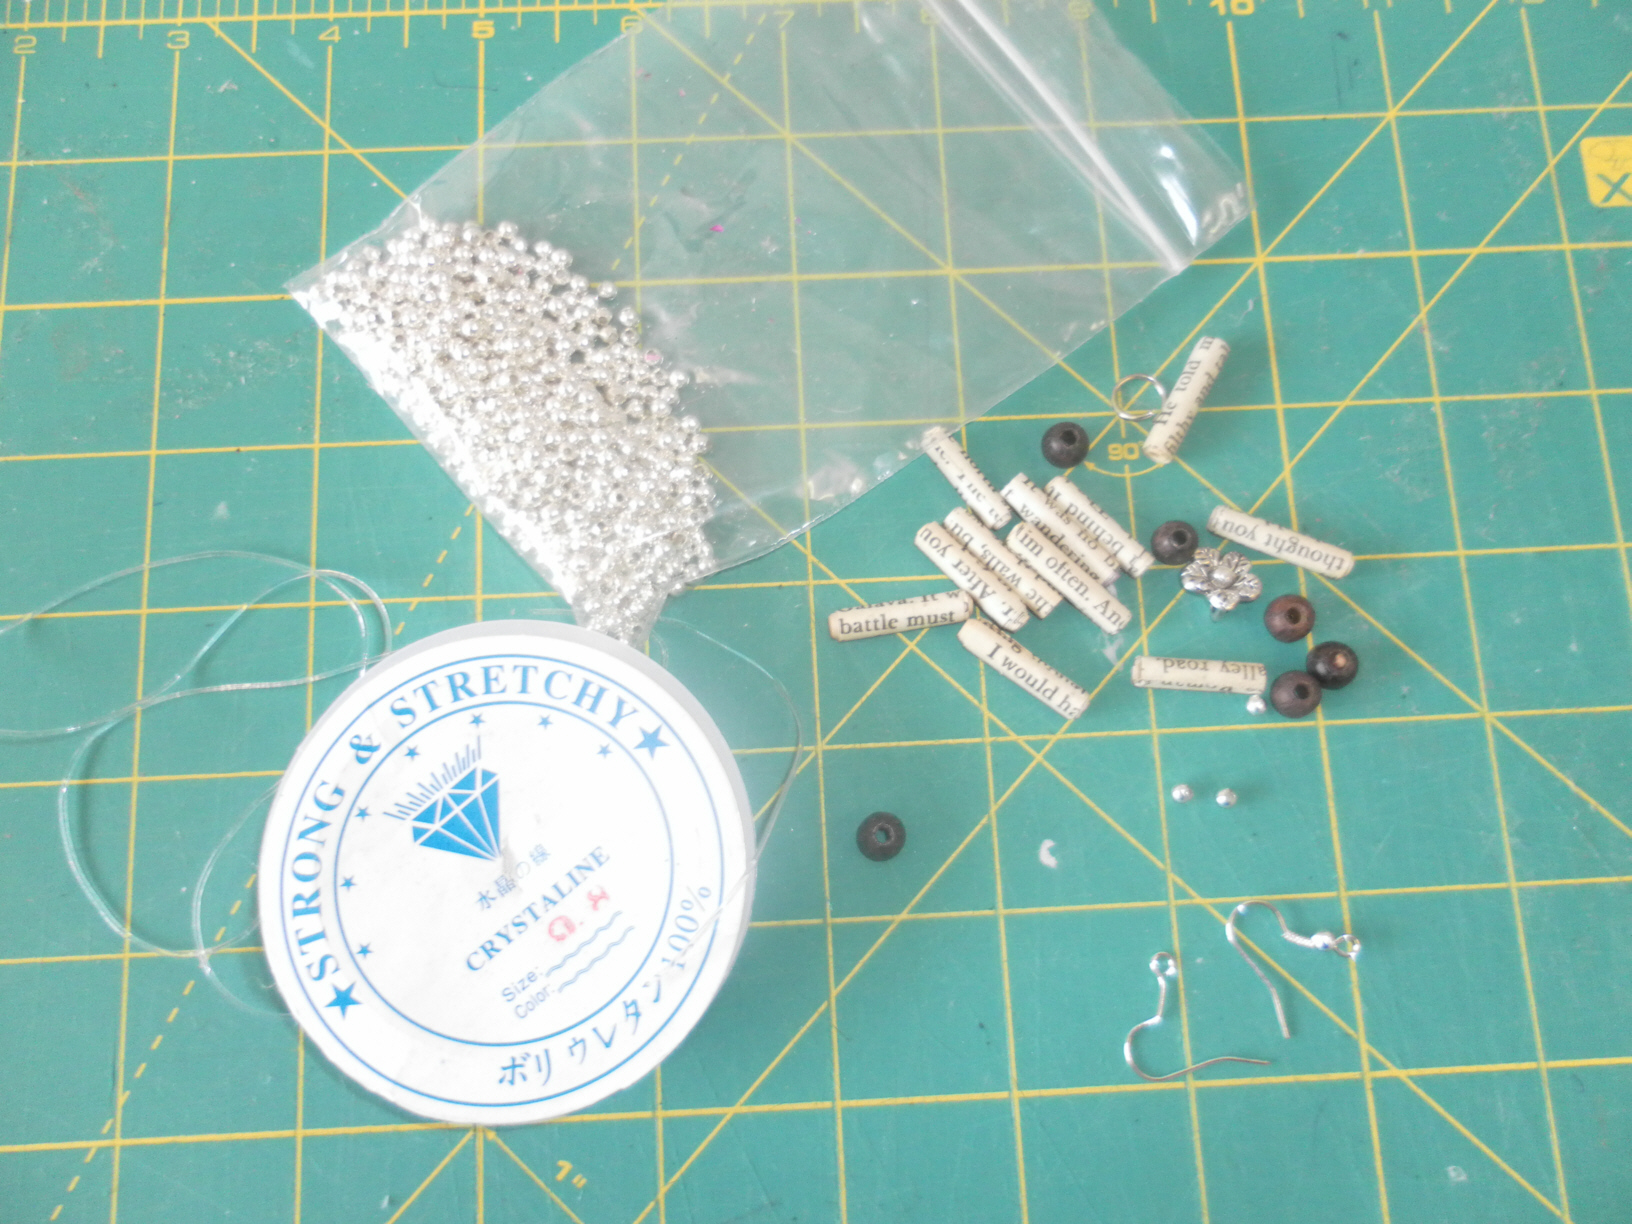
There a lots of basic jewellery making tutorials on the interent so I won’t go into depth here, but for my bracelet I used some silver spacer beads and some wooden beads from a broken necklace. They were threaded onto elastic cord for the bracelet. Such a quick and easy way to make a bracelet just thread the beads in the pattern you like using other beads in between and tie the two ends of the cord together when it is the right size to fit onto your wrist. Cut off any excess cord and hide the knot inside one of the beads.

I hope you enjoy making these! Next you will learn how I made my own Paper Bead Roller Tool………….