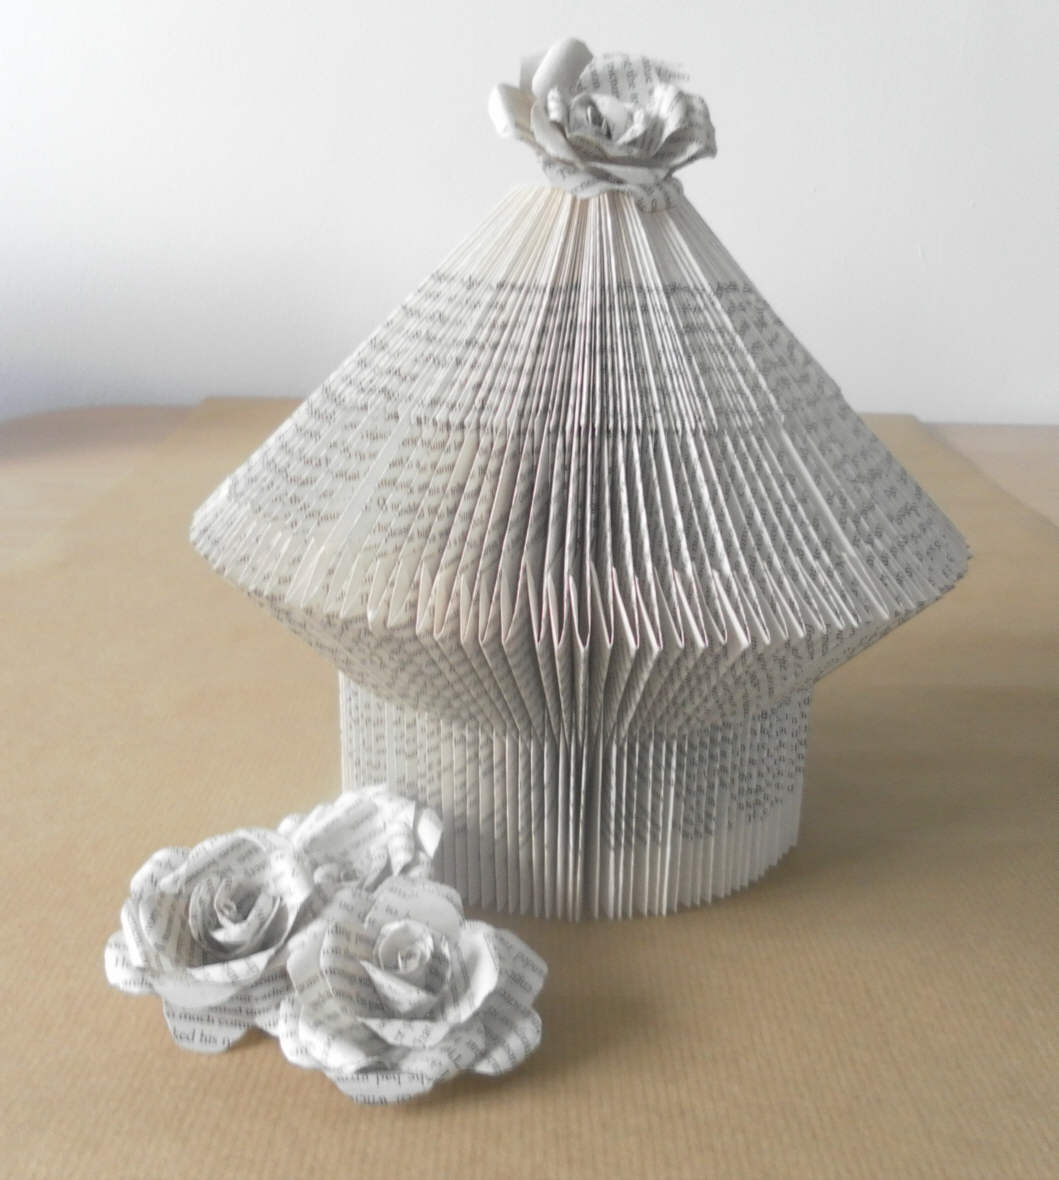
I wanted to make some small birdhouses to hang on the wall, using the same pattern as the other birdhouses I made. This is what I came up with. So pretty, so quick and easy, and saving another book from the bin or incinerator.
What you need:
Paperback book (my book was 7” tall by approx 4 ½” wide) an average size paperback.
Cardboard; (I use boxes that come with cat food pouches, it is nice and strong)
Craft knife
Glue stick
Double sided sticky tape (1″ wide, not the thin one used for card making)
Ribbon or string to hang the birdhouse
Any decoration you want, lace, beads, ribbon etc.
How To:
Cut four pieces of cardboard 4 ½” x 3 ½”. You will be making four little birdhouses.

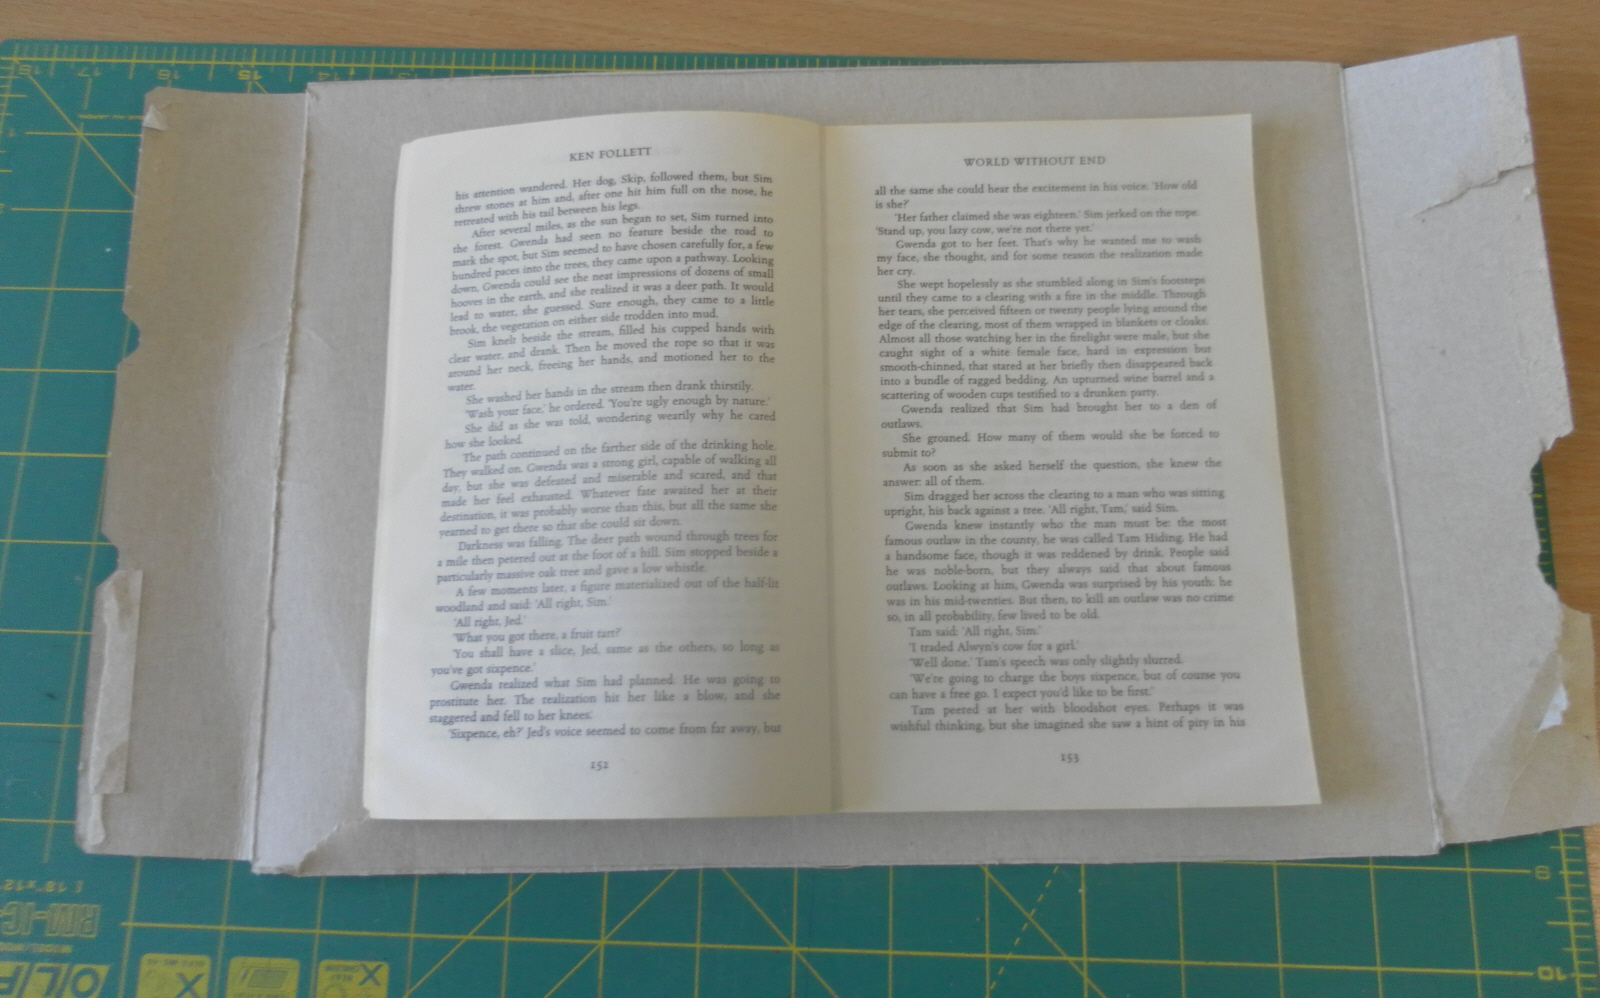
Take the cover off the book.
 For these little birdhouses you only need 51 pages. So if the number at the bottom of the page starts at 1 you need to find page number 102. Carefully tear this block of pages away from the rest of the book. Do the same again with another 51 pages.
  With the 51 pages find the centre and draw a line across. This will be your cutting line.
With your craft knife carefully cut the book in half along this line.

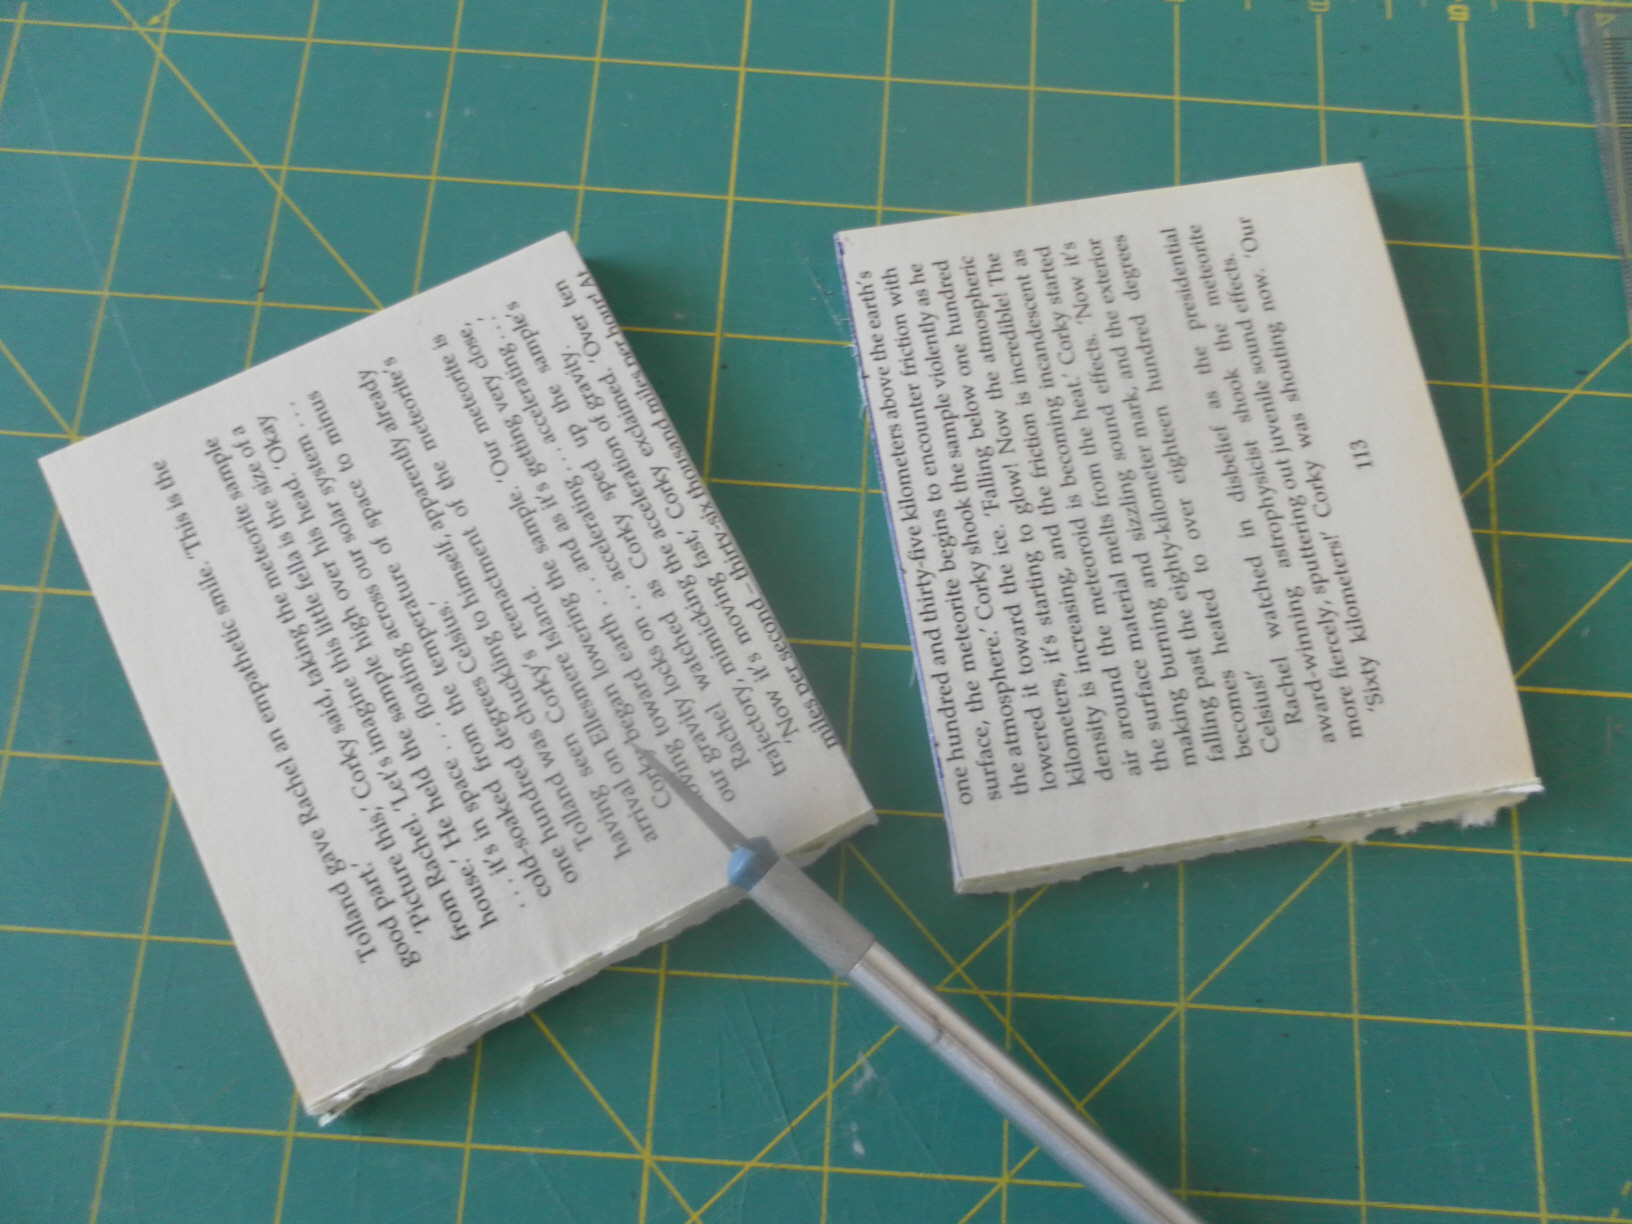
Measure 2 ¼” from the spine and draw a line down the book.
 Cut down this line all through the pages to give yourself a nice neat tiny little book. Do this with the other 3. You now have 4 tiny little books still connected to the spine. You will also be left with all of these lovely pieces of pages, all exactly the same size and ready for my next tutorial. I don’t waste anything if I can help it!
 Turn your little books so that the spine is on your left and the blank border of the page is at the bottom. This is important; You want the blank border to be at the bottom of the birdhouses once they are folded.

I got carried away making mine and forgot to do this next step. But for each little book take a strip of double sided sticky tape and fold over the length of the book, pressing down to make sure it sticks all the way down the spine. Do not take the backing of the tape off yet.
I found that because these books were so small, when you began folding, the pages started to come away from the spine, the double sided tape should stop this from happening.
 Fold all four little books using my instructions for Birdhouse 1. But fold right to the spine.
 The last page should be folded like the first, so when you have finished folding the little book you have a square at the back.
 Unfold the first and last page and glue the folds back down again.


Do this with all four little houses.
 You could make all four into individual little wall hangings. (I just used one as I wanted to make a long wall hanging with the other three. I will show you how at the end of this tutorial).
Take off the backing on the double sided tape that you placed down the spine of the book and attach a piece of ribbon or string, this will be the hanger.
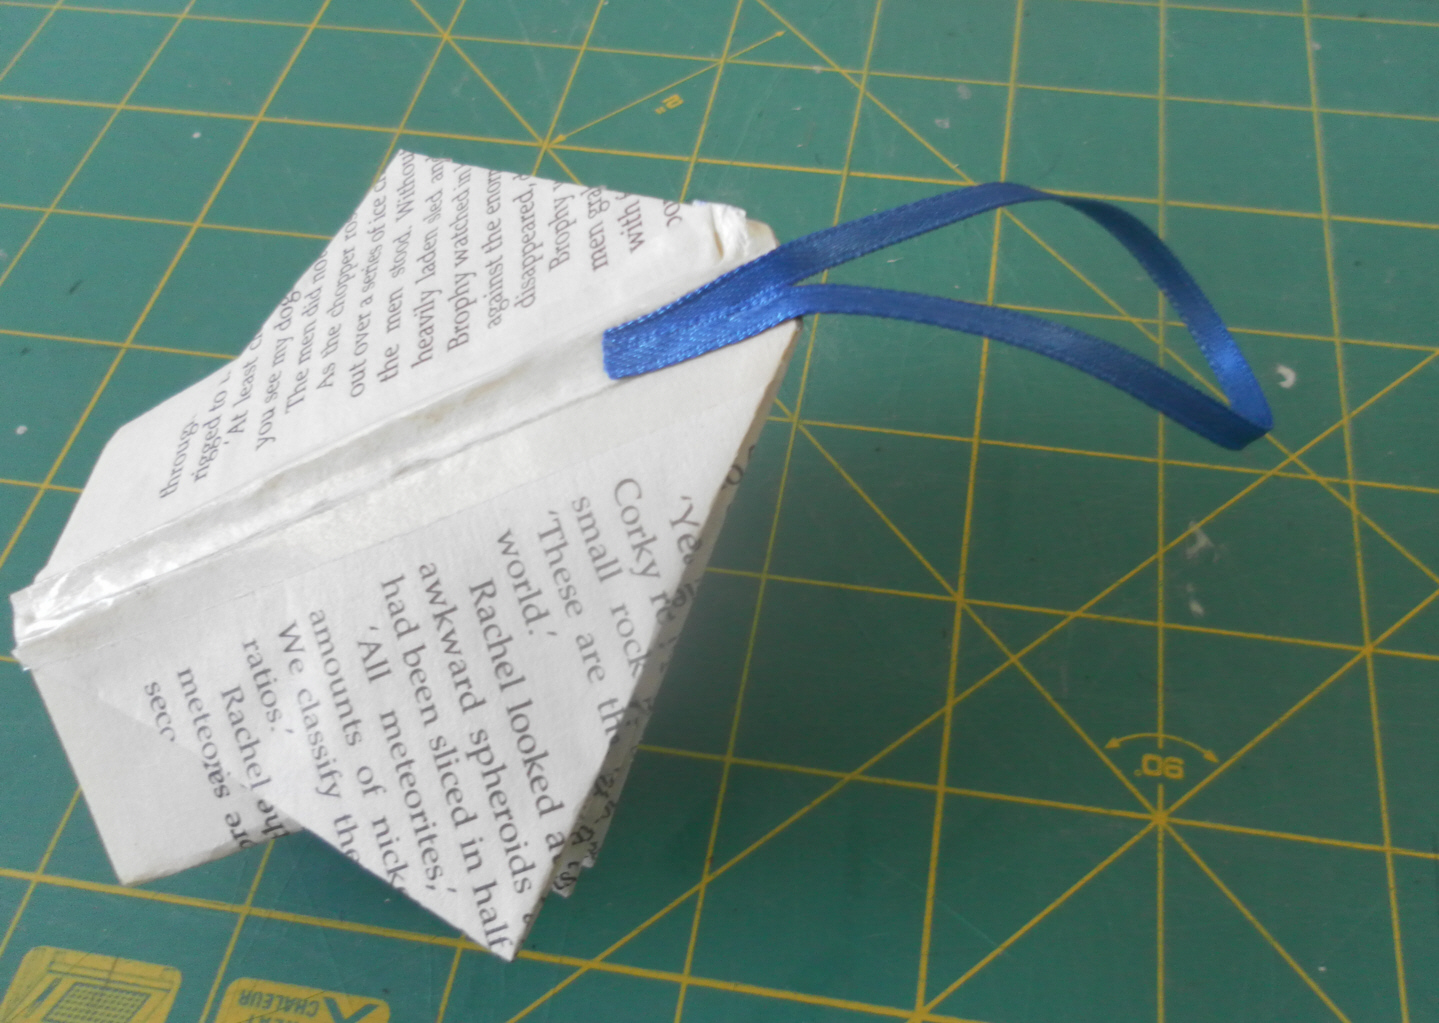
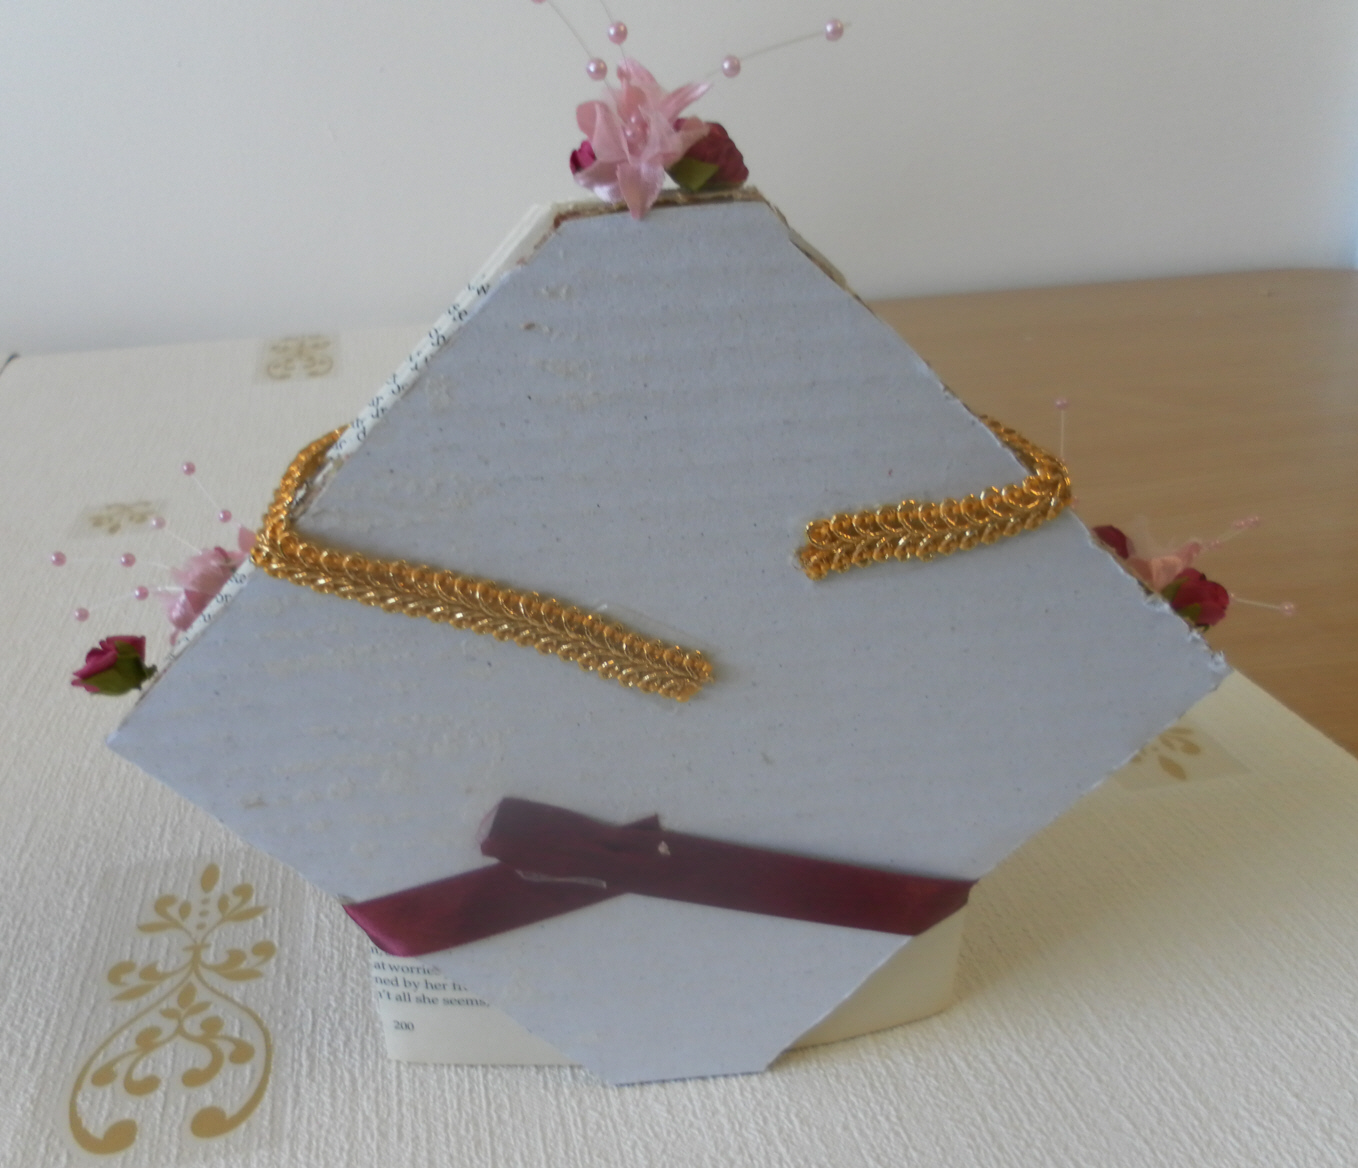
Cover the back of the house with glue or glue stick and press down onto one of the pieces of cardboard. Press down all the way to the spine of the book, on either side, to make sure it is properly secured.
 Cut away the excess cardboard, being careful not to cut your hanger. Finished!
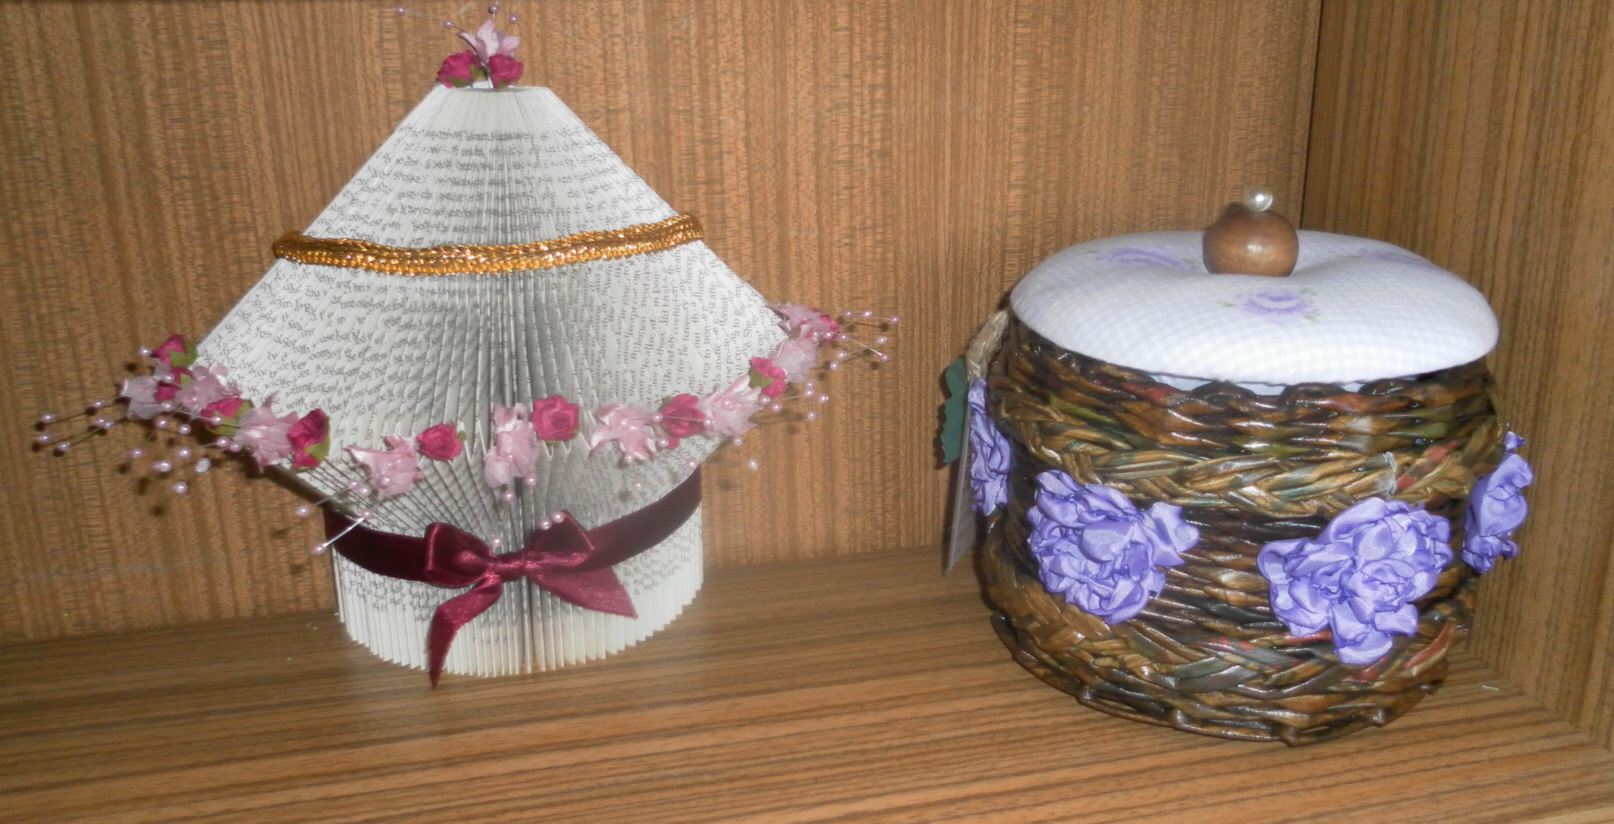
 These look sweet on their own, but I love to decorate!

I tied a bow of matching ribbon around the top. Also a piece of ribbon around the bottom attaching it to the back, with a piece of double sided sticky tape, onto the cardboard. I threaded some beads onto some cotton along with a charm and attached them to the back also. To finish I had some little silver fabric butterflies that I glued on.

With the other 3 little birdhouses I made a long wall hanging.
How to:
Back the houses, as we did the first one, with the cardboard, remembering to take the backing off the double sided tape first.

Place a piece of double sided tape down the length of the centre of each house. Remove the backing.
Lay a piece of ribbon down and place your houses evenly along the length of the ribbon. (I used a 1” wide ribbon to keep the hanging stable) I spaced the little houses approx 2” apart. Leaving a nice long piece of ribbon at the top for hanging.
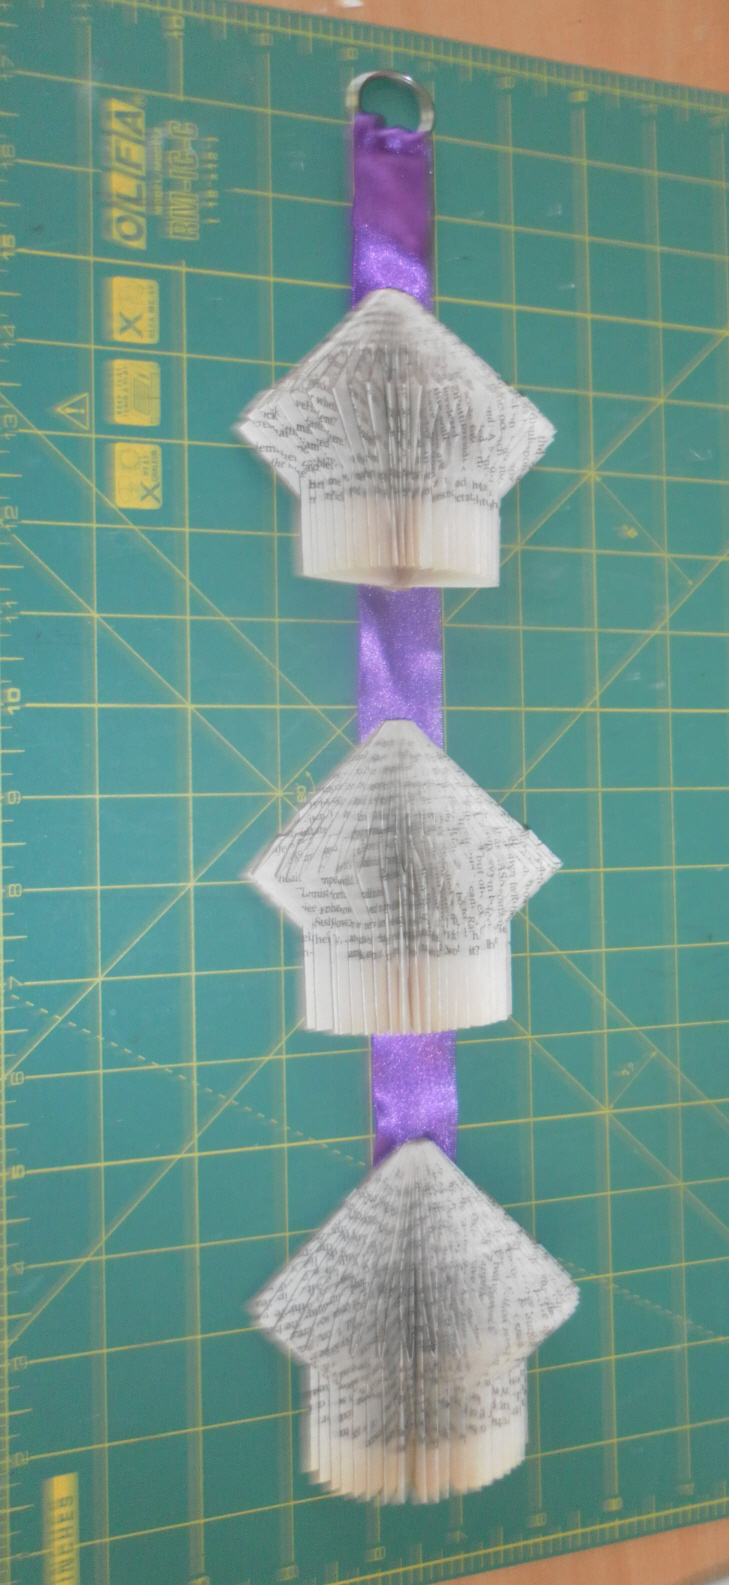
I had a keyring that I used for the top:
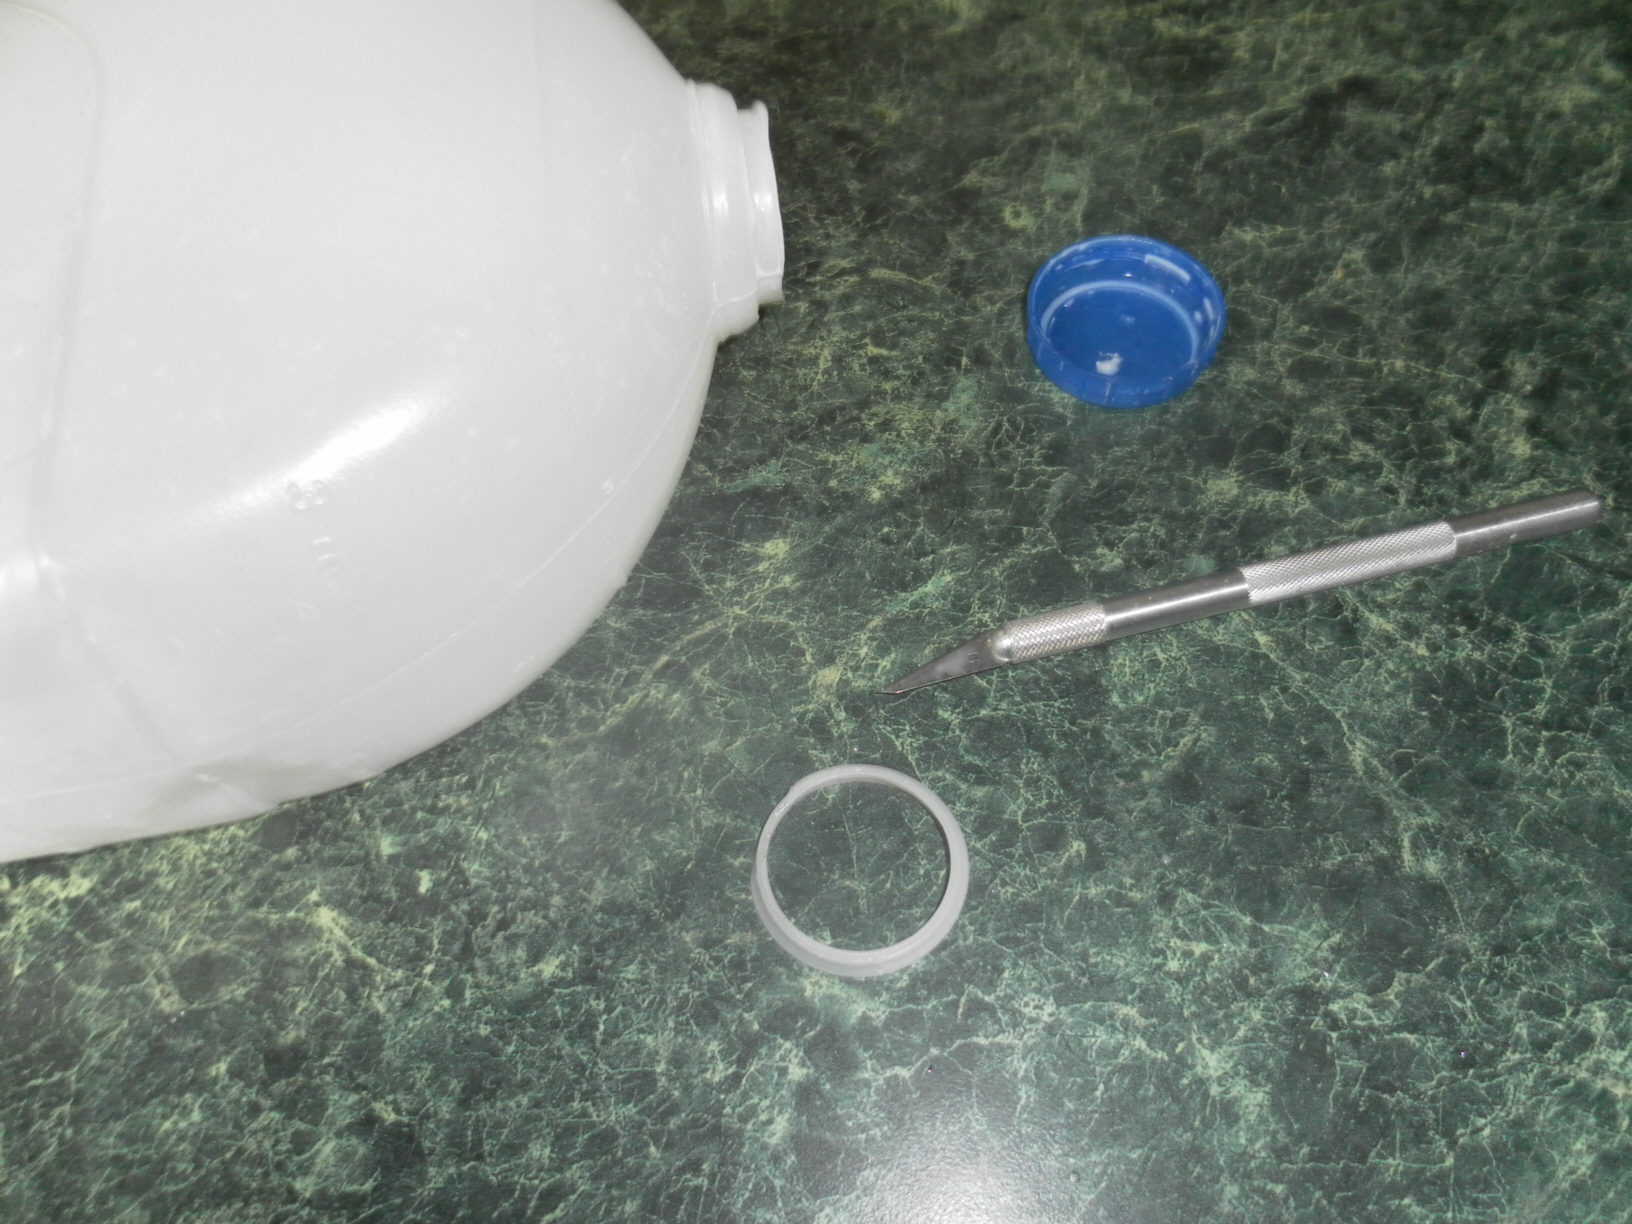
Or you could cut the top from the opening of a plastic milk bottle, making a little ring to wrap the ribbon around. (More recycling!)
Press down on each house once you have them placed evenly along the ribbon, making sure that the double sided tape is sticking to the ribbon.
Now you can decorate each little house. I wrapped ribbon and lace around the bottom of each house and secured it at the back with double sided tape. (It is a bit awkward with the houses being attached to the long ribbon, but I found sticking the ends of the decorations over the top made it more secure).
Then I just pushed a little flower into the folds on the roof of each house, and tiny silver flowers on the ribbon at the top of each house were attached using a glue stick.

 Using some of the pieces of pages that were cut off at the beginning, I used my glue stick to cover the backs of each birdhouse to finish them off. Or you could glue a pretty piece of cardstock or wrapping paper to the back of each one. This will also help to make everything secure and tidy and ready for hanging.
 The rest of these pieces will be used in my next tutorial!
Good luck and please comment or send pictures if you used my tutorial to rescue a book!